 CastCheck
How to use
Five steps, one straight path.
① Open
Load the 3D file. Drag & drop also works.
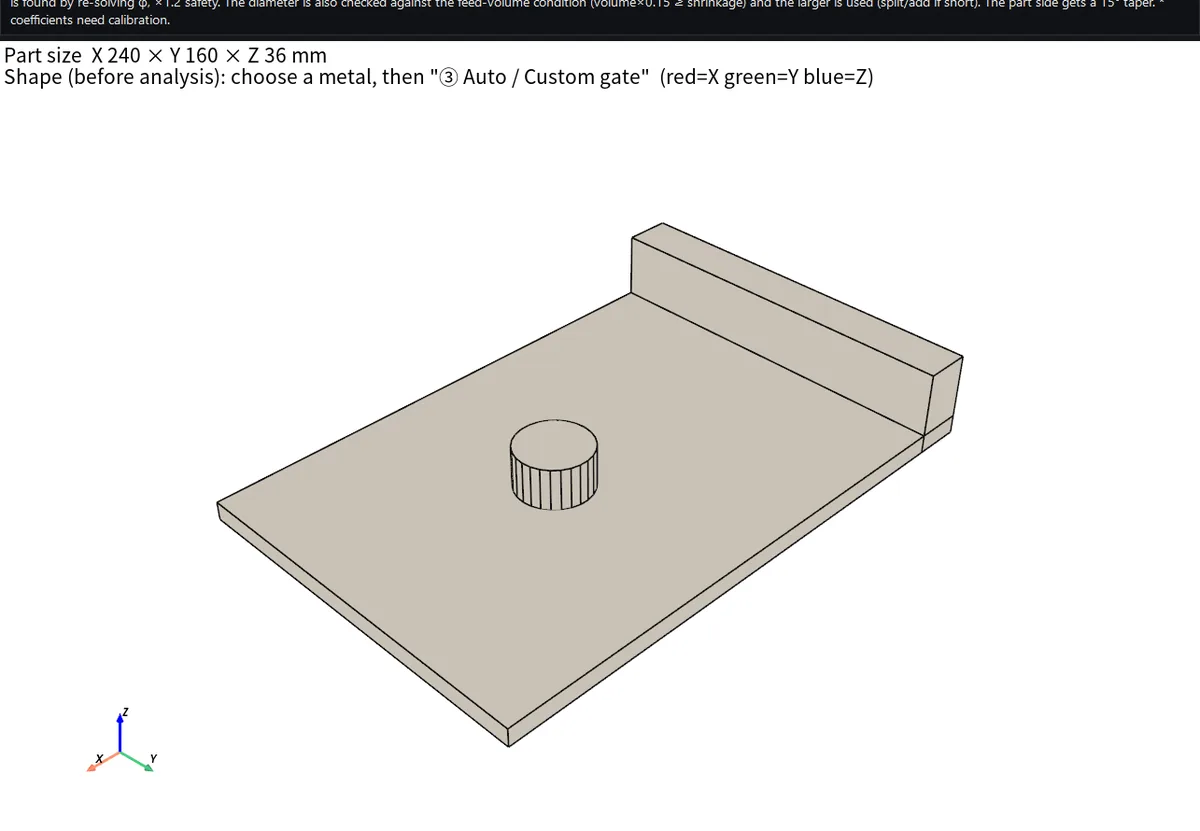
Screen from the version in development ② Material
Choose process → metal → alloy, in that order. You do not enter temperatures, pouring speed or the like.
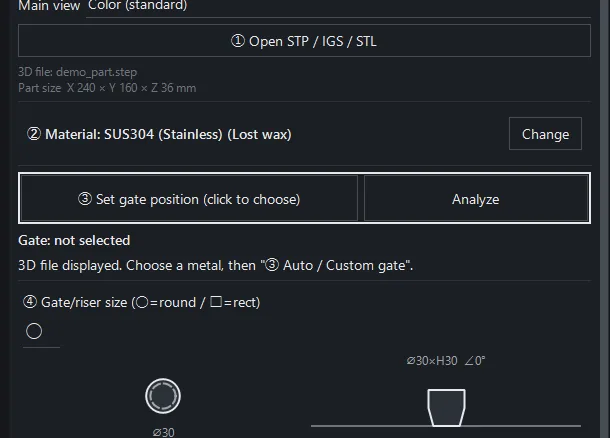
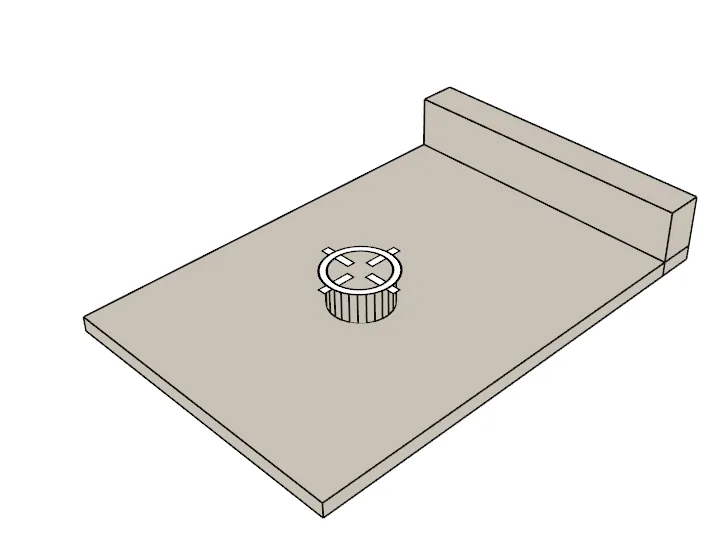
Screen from the version in development ③ Riser position
Click on the 3D view to place it. The caster decides the position; the tool checks it. Aim with the cross that follows the mouse; a hollow ring (white with a black edge) stays where you clicked.
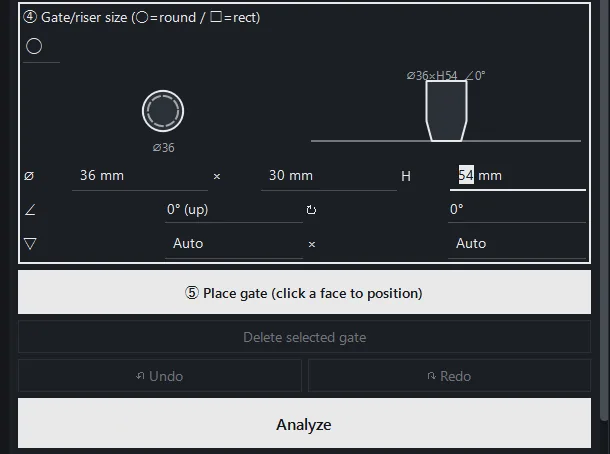
Screen from the version in development ④ Size
Diameter, length, tilt, direction and contact face. Choose “auto size” and the tool works out the size.
Screen from the version in development ⑤ Analyze
It calculates only when you press this. It never calculates on its own.
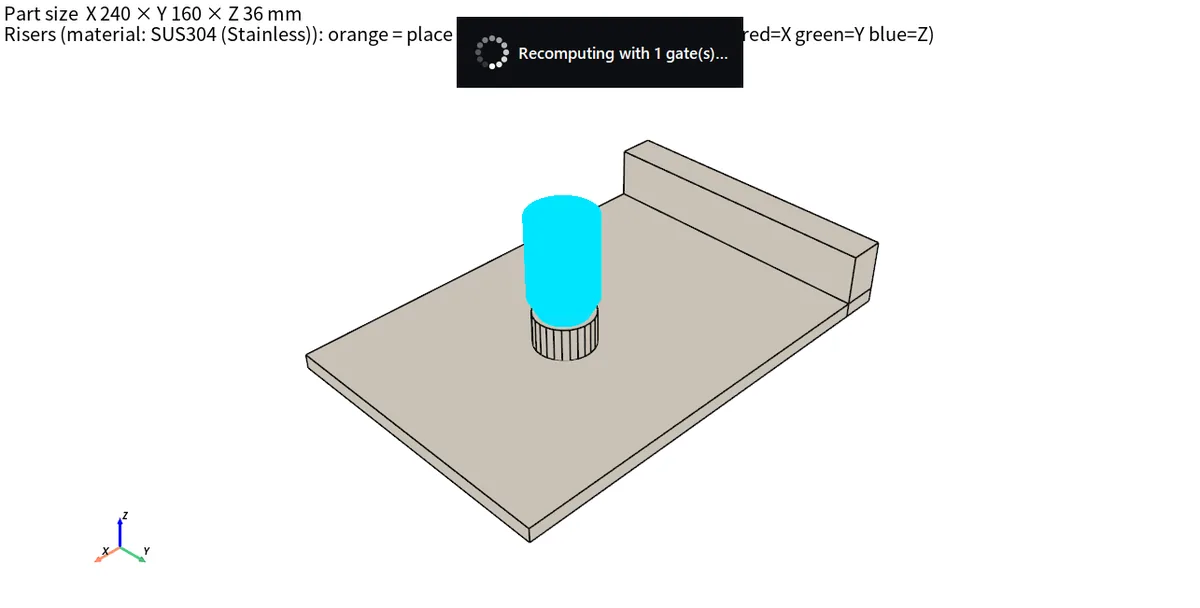
Screen from the version in development
Results appear on four tabs (Riser / Shrinkage / Filling / Surface sink). See Reading results.
Other operations
- Risers can be changed at any time: even after an analysis, you can place, move, delete or resize risers. As soon as the risers differ from the analyzed ones, the results on every tab turn gray (still the previous calculation); press 〔⑤ Analyze〕 to update them.
- Undo: if you moved something by mistake, 〔↶ Undo〕 (Ctrl+Z) takes it back (〔↷ Redo〕 is Ctrl+Y). Return to the risers you analyzed and the gray goes away, showing the results as they were.
- While auto size is computing: a spinner and “Computing the riser size (N). The riser appears when done.” are shown. The riser appears on screen only when the computation has finished. Only 〔■ Cancel〕 can be pressed meanwhile; it stops right away and no riser is placed. Depending on the part, it takes a few minutes.
- Memory notice: when this PC is expected to run short of memory, it does not start computing and shows a message such as “Analyzing this part needs about ◯ GB of memory (this PC has ◯ GB, about ◯ GB free now).” See System requirements.
- When something cannot be computed: instead of staying silent, the bar shows “could not compute … (reason)”, and the results lean to the safe side (spots that could not be checked are counted as risky).
- Collapsing notes and formulas: the notes bar at the top and the formulas under the tabs can be collapsed. Risky lines, “could not compute” and “Calibration applied” stay visible even when collapsed.